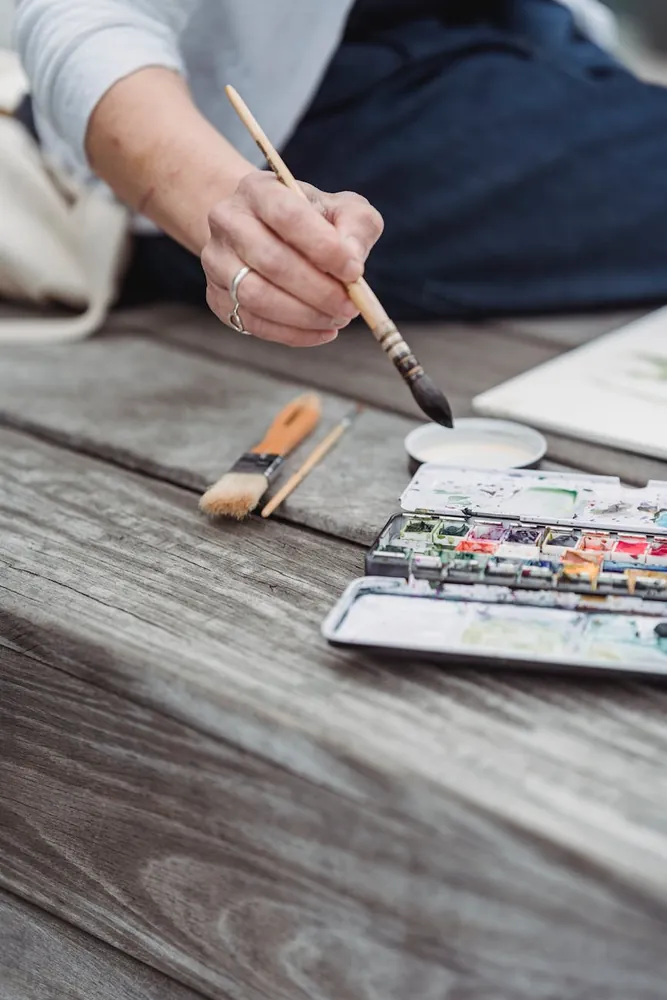
mastering watercolor landscapes with texture: blending and layering techniques

The Beauty of Watercolor Textures
Watercolor is a versatile medium that can produce stunning landscapes full of life and emotion. When combined with textured paper, the possibilities expand dramatically, allowing artists to create depth and interest through subtle yet effective techniques. This article will explore practical approaches to mastering watercolor landscapes with texture, focusing on the art of color blending and layering.
Choosing the Right Materials
Before diving into techniques, it’s crucial to select the appropriate materials. The foundation of a textured watercolor landscape is the paper. Cold-pressed or rough paper offers unique textures that interact beautifully with watercolors.
Selecting Your Paper
- Cold-Pressed (Not) Paper: Offers moderate texture and is the most versatile for beginners.
- Rough Paper: Provides a highly textured surface, perfect for capturing rugged landscapes or turbulent skies.
Pair your chosen paper with quality watercolors and brushes to ensure your colors stay vibrant and your strokes remain crisp.
Understanding Watercolor Pigments
The key to successful blending and layering lies in understanding how different pigments interact with each other and the paper. Watercolors are available in tubes or pans, and while both can achieve excellent results, they may behave differently during application.
Tip: Begin with a limited palette of primary colors to understand mixing, then gradually expand to include earth tones for more complex landscapes.
Blending Techniques for Seamless Gradients
Creating smooth transitions between colors is essential for realistic landscapes. Here are some effective blending techniques:
Wet-on-Wet Technique
This technique involves applying wet paint onto a wet surface, ideal for creating soft edges and smooth gradients. It’s particularly useful for painting skies and water reflections.
- Pre-wet the paper with clean water where you want the gradient.
- Apply the first color at one end.
- Gradually introduce a second color from the opposite side, allowing them to blend naturally in the middle.
Scenario: You’re painting a sunset over a lake. Pre-wet the sky area and start with a warm yellow at the horizon, transitioning into soft pinks and purples as you move upward.
Wet-on-Dry Technique
This method allows for more control by applying wet paint onto dry paper, useful for defining shapes or adding details.
- Apply a base color and let it dry completely.
- Add subsequent layers with varying amounts of water to control transparency and texture.
This technique works well for creating tree lines or distant mountains where you need sharper edges.
Layering for Depth and Complexity
Layering involves building up layers of color to achieve depth and complexity in your artwork. Patience is key, as each layer needs to dry before adding the next to avoid muddy colors.
Glazing Technique
This involves applying thin, transparent layers of color over dry paint. Each layer modifies the appearance of those underneath without covering them completely.
- Start with lighter colors as your base layer.
- Once dry, apply a thin layer of darker color, allowing some areas of the initial layer to show through.
This method is excellent for creating shadows and enhancing details like foliage or rocky terrains.
Scumbling Technique
Scumbling uses a drier brush with minimal paint to lightly drag across the surface, leaving behind broken patches of color.
- Dilute your color minimally or use straight from the tube/pan for opacity.
- Using a dry brush, gently skim the surface of your paper for a textured effect.
This technique adds character to elements like grassy fields or textured rocks, giving them an organic feel.
Practical Tips for Beginners
- Experiment: Try different papers and brushes to see what textures you enjoy working with most.
- Test Swatches: Before applying new colors to your landscape, test on a scrap piece of paper to observe interactions.
- Stay Patient: Allow layers to dry completely before adding more; rushing can lead to undesired blending or muddy results.
A Small Realistic Scenario: A Misty Mountain Landscape
You’re inspired by a morning view of mist enveloping distant mountains. Begin by choosing rough paper for its natural texture. Start with wet-on-wet washes of light blues and purples for the sky. As it dries, use wet-on-dry to define mountain ridges, using glazing techniques to create mist effects with soft grays. Scumble a few highlights on mountain tops to capture early morning light piercing through. The result is a dynamic, layered depiction that feels both spontaneous and carefully crafted.
The Journey Ahead
Mastering watercolor landscapes requires practice and patience but offers incredible rewards in expression and creativity. By experimenting with textured paper, exploring various blending and layering techniques, you’ll develop your unique style that brings your landscapes to life. Remember, each brush stroke is part of your creative journey—embrace it fully!
